

The Complete Guide to Wafer Paper Flowers: What is Wafer Paper? Learn How to Make + Store Them Properly
Wafer paper flowers are a popular form of cake decoration choice among cake decorators in the recent days. This edible decorating medium is used to create elegant, exquisite flowers that look different from the regular gum paste flowers.
Thinking how to take your cake decorating skills up a notch?Today, we will share with you everything you need to know about wafer paper.
What is Wafer Paper?
Wafer paper is made up of a combination of potato starch, water, and vegetable oil. Most wafer papers are flavourless or have a neutral taste. This lack of flavour is an advantage as it doesn’t affect the taste of the cake that the wafer paper is applied onto. Flowers made from Wafer Paper can also last forever, so you never have to worry about flowers withering ever again.
How to Make Wafer Paper Flowers

Wafer paper flowers can be intimidating to make; it cracks, wilts, and melts easily when it comes into contact with water. Also, getting the right shade of colour can be difficult for first timers.
However, with a bit of patience and practice, they’re surprisingly simple to make!
Here are some methods to learn how to make wafer paper flowers:
Method 2: Join my FREE Class
Everything you need to know about wafer paper flowers

Need a professional tutorial in getting you started with wafer paper flowers? Thinking how you can make realistic looking sugar flowers that are light weight, do not break and doesn't require overnight drying time?
3000+ people have signed up for Winifred's FREE Cosmos Workshop and benefitted from it. This is where you will master all the foundations for working with wafer paper, create beautiful cosmos flowers and how to arrange them on a cake.
Method 2: Attend an Online Masterclass
Masterclass: Art of Wafer Paper & Cake Design

This wafer paper course by Winifred Kristé Cake is suitable for newbies and professionals; each lesson is designed to guide and help you to master these seemingly complicated creations in just a few simple steps.
The curriculum focuses on creating stunning wafer paper flowers such as hydrangeas, ranunculus, and more. It also covers the tools and materials you need to create these intricate flowers.
If you’re not ready to commit to the entire course, individual classes covering a range of topics are also available. For example, enroll in this wafer paper ranunculus class to pick up techniques on how to make this beautiful flower.
Bonus: FREE Wafer Paper Flowers Resources
If you’re not ready to invest in the full wafer paper flower course, why not try out some of the Free Resources?
Each of these classes teach you a unique technique you can bring back home to improve your flowers making skill set. With these techniques set in place, you will be able to elevate your work.
|
Free Resource 4 Lessons | Free
|
Free Resource Wafer Paper Daisies (Picture Tutorial) 1 Lessons | Free
|
Free Resource 2 Lessons | Free
|


Method 3: Sign Up For a In-person Workshop

What better way to learn how to make these intricate decorations than under the guidance of an expert?
Participants can get to learn how to create wafer paper flowers under the watchful eye of Winifred – the owner of Winifred Kristé Cake. You can expect to gain a deeper understanding of colour theory and apply it to the flowers you’ll be making.
Additionally, class size is kept to a minimum to ensure that each participant receives maximum attention. Click here for more information on group classes:
https://winifredkristecake.com/pages/group-workshops
Method 4: Watch a Video Tutorial
If you’re a beginner, learning how to make wafer paper leaves is the best way to start as they’re much easier to handle. Once you’re more familiar with the relevant techniques, you’re ready to start creating other types of wafer paper decorations.
To learn more, head over to the Winifred Kristé Cake's YouTube channel. Over there, Winifred publishes regular tutorials on how to create a range of sugar decorations. She even has a curated playlist containing her video, making it easy for you to access them!
Method 5: Follow an Online Recipe

In this step-by-step tutorial, Winifred brings you through how to create these delicate looking mini daisies in just a few simple steps!
Tools you’ll need

- A pair of craft scissors
- A dry dusting brush for dusting
- A mini brush for the edible glue
- A toothpick
- Egg whites
- Wafer paper glue
- Vodka (in a spray bottle)
- Pliers
- 26g white floral wire
- Some edible dust colours
- Wafer paper
- Pale yellow gumpaste
Directions

1. Cut the 26g wire into halves or thirds and use the plier to bend the end of the wire into a little hook. Prepare the amount of gumpaste as shown and roll it into a mini ball.

2. Dip the mini hook into the egg whites, tap off the excess, and push it into the gumpaste ball. Ensure that you close the hole caused by the insertion by pinching your index finger and thumb in this manner.

3. To create the centre of the daisy, turn the gumpaste ball around and use a toothpick to make random indentations.

4. This is what it should look like when it’s done. Leave the ball to dry for at least 1 – 2 hours, making sure that the gumpaste is completely dry before you move on to the next step.
Tip:
You can make these daisy centres one day before and finish the remaining steps the next day.

5. Next, cut a tiny circular shape out of wafer paper and thread it through the wire until it reaches the bottom of the daisy centre.

6. Add some wafer paper glue to the circular cut out and adhere it to the gumpaste. This helps the wafer paper petals to adhere to the daisy centre more easily in the later steps.

The wafer paper cut out should be well adhered to the bottom of the daisy centre when you’re done.

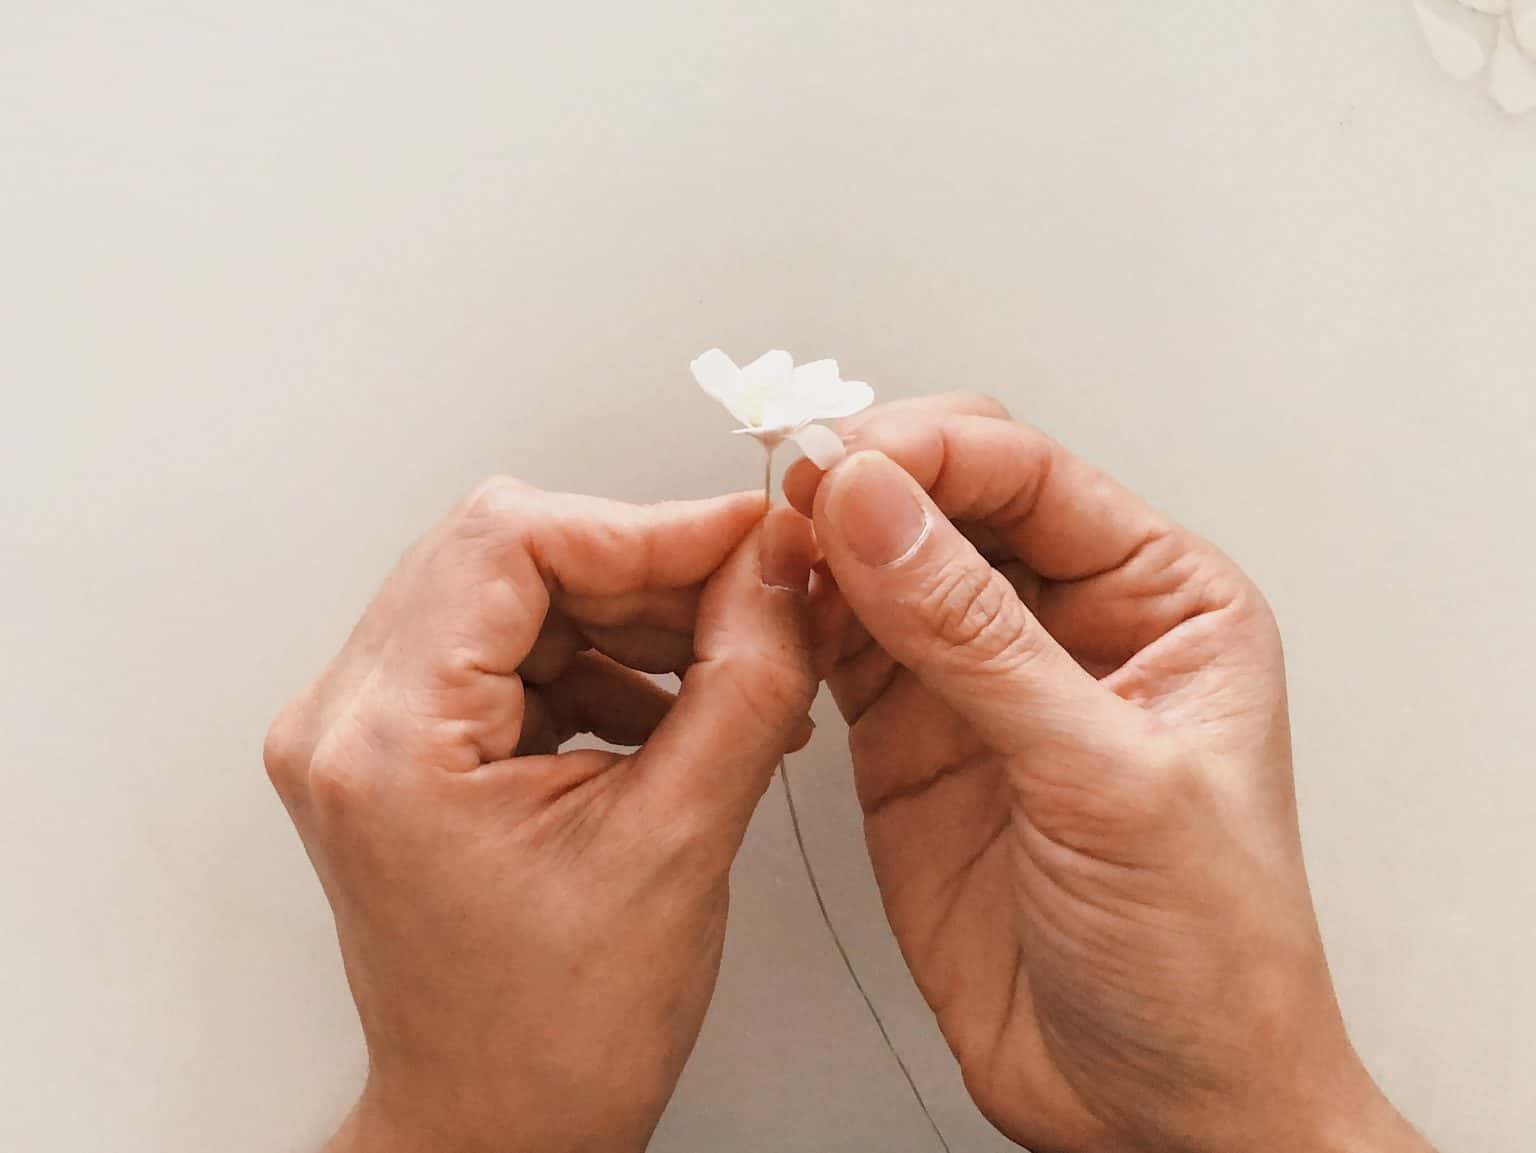
7. Cut out mini teardrop shaped wafer paper (these will be the petals) and start attaching them to the center of the daisy (Winifred usually attaches 5 – 6 petals around the daisy centre).

This is how the flower will look after you’re done with the petals. They can be more opened or angled at 45° like this one here.
This will be your first layer of petals. You can choose to stop here or continue adding another layer for more visual interest (see below).

In the picture above, Winifred has added a few more petals below the first layer to add more dimension to the flower.

This is how the daisy will look from the side.

8. The petals are looking a little flat at this point. To counter this issue, use the vodka spray to give it 1 – 2 sprays from a distance.
Note:
Avoid spraying too much vodka as we only need enough liquid for the petals to become soft and pliable for you to bend them. Wafer paper is extremely sensitive to liquid and adding too much will drench your flower, potentially destroying it.
9. Once the petals become soft and pliable, use your fingers to gently bend it backwards. This helps to give the entire flower more character by introducing some movement in the petals.

10. Mix the edible dust colours that you’ve chosen to achieve an orangey-yellow shade. Once you’re done, use your brush to gently tap on the daisy centre to transfer the colours over.
Note:
Dusting your flowers is important as it helps to give it more life and look more realistic.

11. Cut out a mini starfish shape to create the calyx and colour it with a green tone.
Tip:
Mix edible gel colors with vodka to achieve a paintable consistency.

12. Just like what you’ve to the daisy petals, use your fingers to bed the calyx to curl it before it dries out. Attach this to the bottom of your daisy and you’re done!
Tip:
Use the same green to paint your wire to gussy it up as the stem of your flowers.

And that’s it!
Hope you like this tutorial! If you’ve attempted making these flowers, tag us on Instagram (@winifredkristecake) so we can see your beautiful wafer paper daisies!
How to Attach Wafer Paper Petals and how to we insert them into a cake?
Before learning how to attach wafer paper petals, we need to learn how to make wafer paper glue. This glue is also the glue used to attach the petals to your wafer paper flowers in step 6 of our wafer paper daisies tutorial.
Ingredients
- Water
- Wafer Paper
Note:
There’s no fixed quantity for each ingredient as long as you end up with a gooey mixture. However, to achieve this texture, the amount of water used should be lesser than the amount of wafer paper.
It’s okay to have some lumps in the mixture after microwaving it. Let it sit for 1 – 2 hours and it should come together to form a smooth mixture.
This step is not compulsory. You can start using the mixture as soon as it is out of the microwave, even with the lumpy bits.
Store the mixture in a container for up to 5 days if you’re not using it immediately.
Note:
Always make sure that no exposed wires go into the cake. You don’t want any wires to be touching the cake as they can be toxic and may cause a bad reaction especially when your cake is citrus-based.
Wrap your wires with floral tape (floral tapes are non-toxic) – to make them safe for insertion. If you still feel unsafe, you may also place a straw into the cake before inserting the wire through the straw. This ensures that the floral tape doesn’t come in contact with the cake.
How Long Does Wafer Paper Last

Wafer paper will not go bad. As a general rule of thumb, it’s recommended that you use it within a year of its purchase. This is because the paper dries out and becomes brittle over time.
One of the best things about utilising wafer paper is the scrapes. These unused bits can be kept for future use. Ensure that you keep the extra pieces in a clean Ziplock bag and store them in a cool, dry place. These extra pieces can be used to make the wafer paper glue above! Talk about minimising waste :)
How to Store Wafer Paper Flowers
- Avoid refrigerating – Users should avoid refrigerating their wafer paper flowers because the humidity in the fridge can cause the flowers to soften. This causes it to melt, changing its shape.
- Store in a cool dry place – Because wafer paper is mostly made of starch, it’s highly sensitive to water and moisture. Storing them in a cool dry place ensures they retain their shape by reducing the possibility of the flowers absorbing moisture and oil from the buttercream.
For more information, watch this comprehensive video below on how you store you wafer paper flowers.
Making Wafer Paper Flowers

Wafer paper flowers are a great alternative to traditional sugar flowers. They are also an excellent way to add a feminine touch to your cake.
Elevate your cake’s decoration and learn how to make them today!